Bare root trees and shrubs, as the name suggests, are not sold in a pot or balled and burlapped. At the nursery bare root plants are grown in the ground, harvested as young plants, and sold without soil surrounding the roots. They are sold while the plant is dormant, usually in late winter or early spring and are best planted while they are still dormant or just before bud break. Historically, they have been used for agriculture or conservation plantings but they are also suitable for the home landscape. Bare root trees and shrubs are a great choice if you need a lot of plant material or are on a tight budget.
Consider using bare root trees and shrubs to provide structure in your garden, to create wildlife habitat, for erosion control, or to start your home orchard or tree farm. Additionally, bare root plants are perfect for planting a hedge because they are similar in size, establish quickly, and don’t require too much digging. They will take longer to fill in the hedge than containerized plants, but they will cost a lot less money. Many popular landscape trees and shrubs are available as bare root plants.
Choose a reputable nursery or grower, preferably one that is growing regionally adapted plants. In New England, choose a grower in the Northeastern United States. When choosing species to purchase, have planting goals in mind. These goals can be those previously mentioned or other goals like revegetating an area with native plants after removing invasive plants. As with any planting project, consider the right plant for the right place. Choose species that are suited to the growing conditions of the planting area. Consider sun exposure, soil characteristics, hardiness zone, plant size at maturity, and location of underground utilities.
Before purchasing bare root plants, have a plan with all the above considerations addressed. Unlike containerized plants, bare root plants have a very specific and narrow timeline for purchasing and planting. They are typically shipped in the early spring, around the time they should be planted.
To keep plants dormant before planting, they can be placed in the fridge or in an unheated garage or basement. They can be stored dormant in the original shipping package for no more than two weeks before planting. Mist the roots every few days so they do not dry out during cold storage.
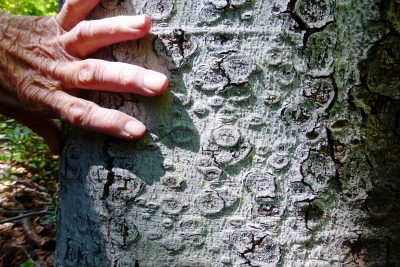
Planting bare root plants is done in the early spring before buds open or late fall after the plant goes dormant but before the ground freezes. As with all trees and shrubs, they should not be planted too deep. The root flare, or transitional part of the plant between the roots and stem, should be level with the soil. Add a layer of mulch or compost but avoid piling mulch too high up the trunk. Water weekly, or more often under dry conditions, during the first year after planting. Protection from deer and rodents is important when planting young tender trees and shrubs. Use a tree tube or fencing to discourage browsing.
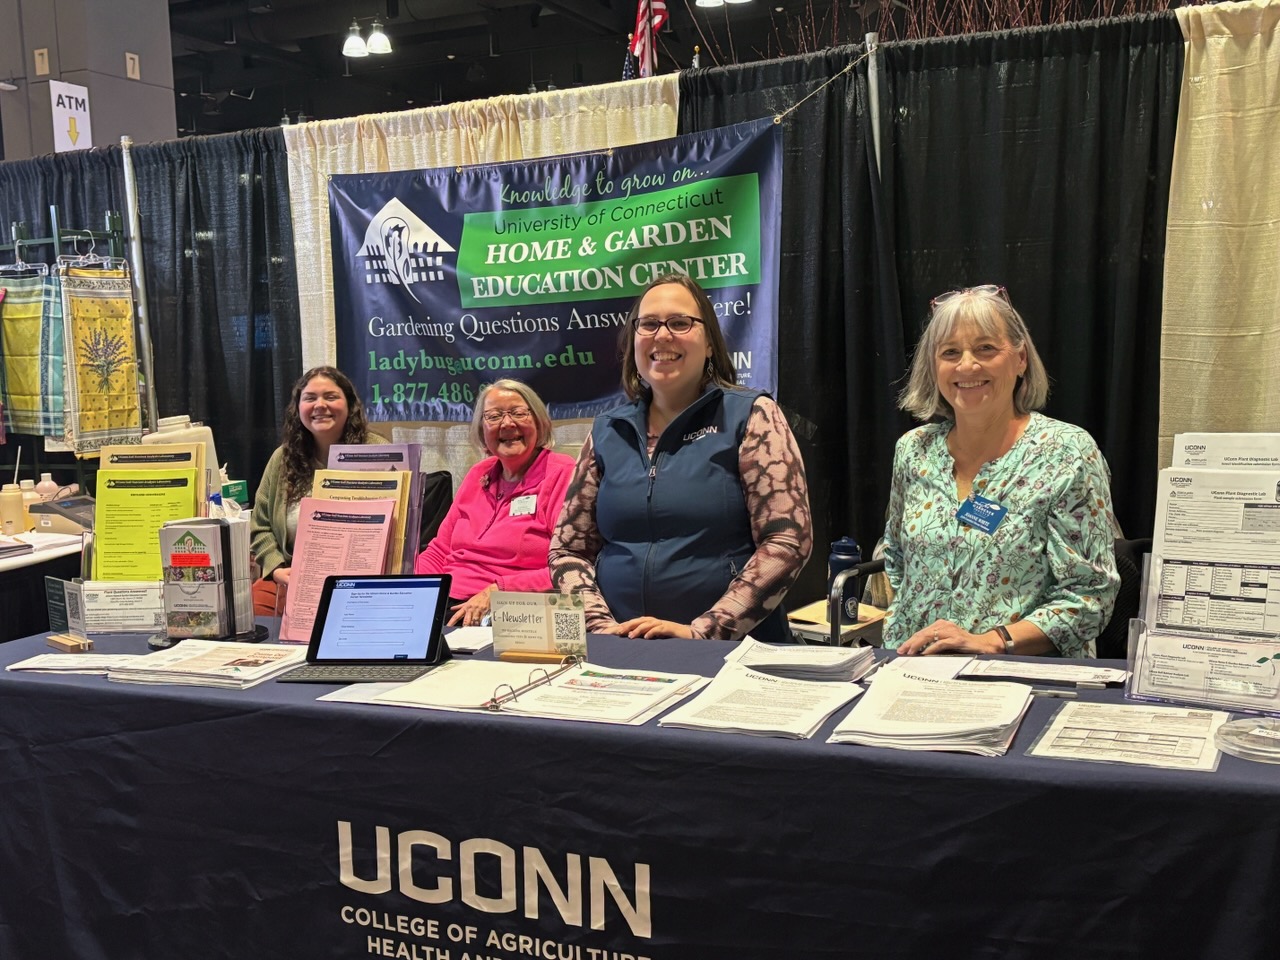
The UConn Home Garden Education Office supports UConn Extension’s mission by providing answers you can trust with research-based information and resources. For gardening questions, contact us toll-free at (877) 486-6271, visit our website at homegarden.cahnr.uconn.edu, or reach out to your local UConn Extension Center at extension.uconn.edu/locations.