Transcript
00:00:00 Stephen Thal
Hi, welcome to another segment on Focal Point. This is Steven Thal and we've been hosting many programs lately and we're hoping that you're enjoying them.
Some of them have been updates on other programs like today is going to be the gardening program of course.
00:00:19 Stephen Thal
Every year it's different because a lot is based on the weather and some of the new fertilizers they've developed and some of the new resources.
00:00:29 Stephen Thal
For example, you may not be aware of some apps that are available that may help you with your gardening.
00:00:36 Stephen Thal
So without further introductions, we're going to ask Heather Zidack from the UConn Plant and Science Center in Storrs, Connecticut to help us put all these facts together.
00:00:48 Stephen Thal
And we'd like to thank her for coming on because they're in the process of moving. So that's adding a little more stress, but she always enjoys our programs.
Heather, what's up?
00:01:02 Heather Zidack
Hey, Steven. Thanks for having me today.
00:01:04 Heather Zidack
Like you said, we're in the middle of that move, but it's pretty exciting.
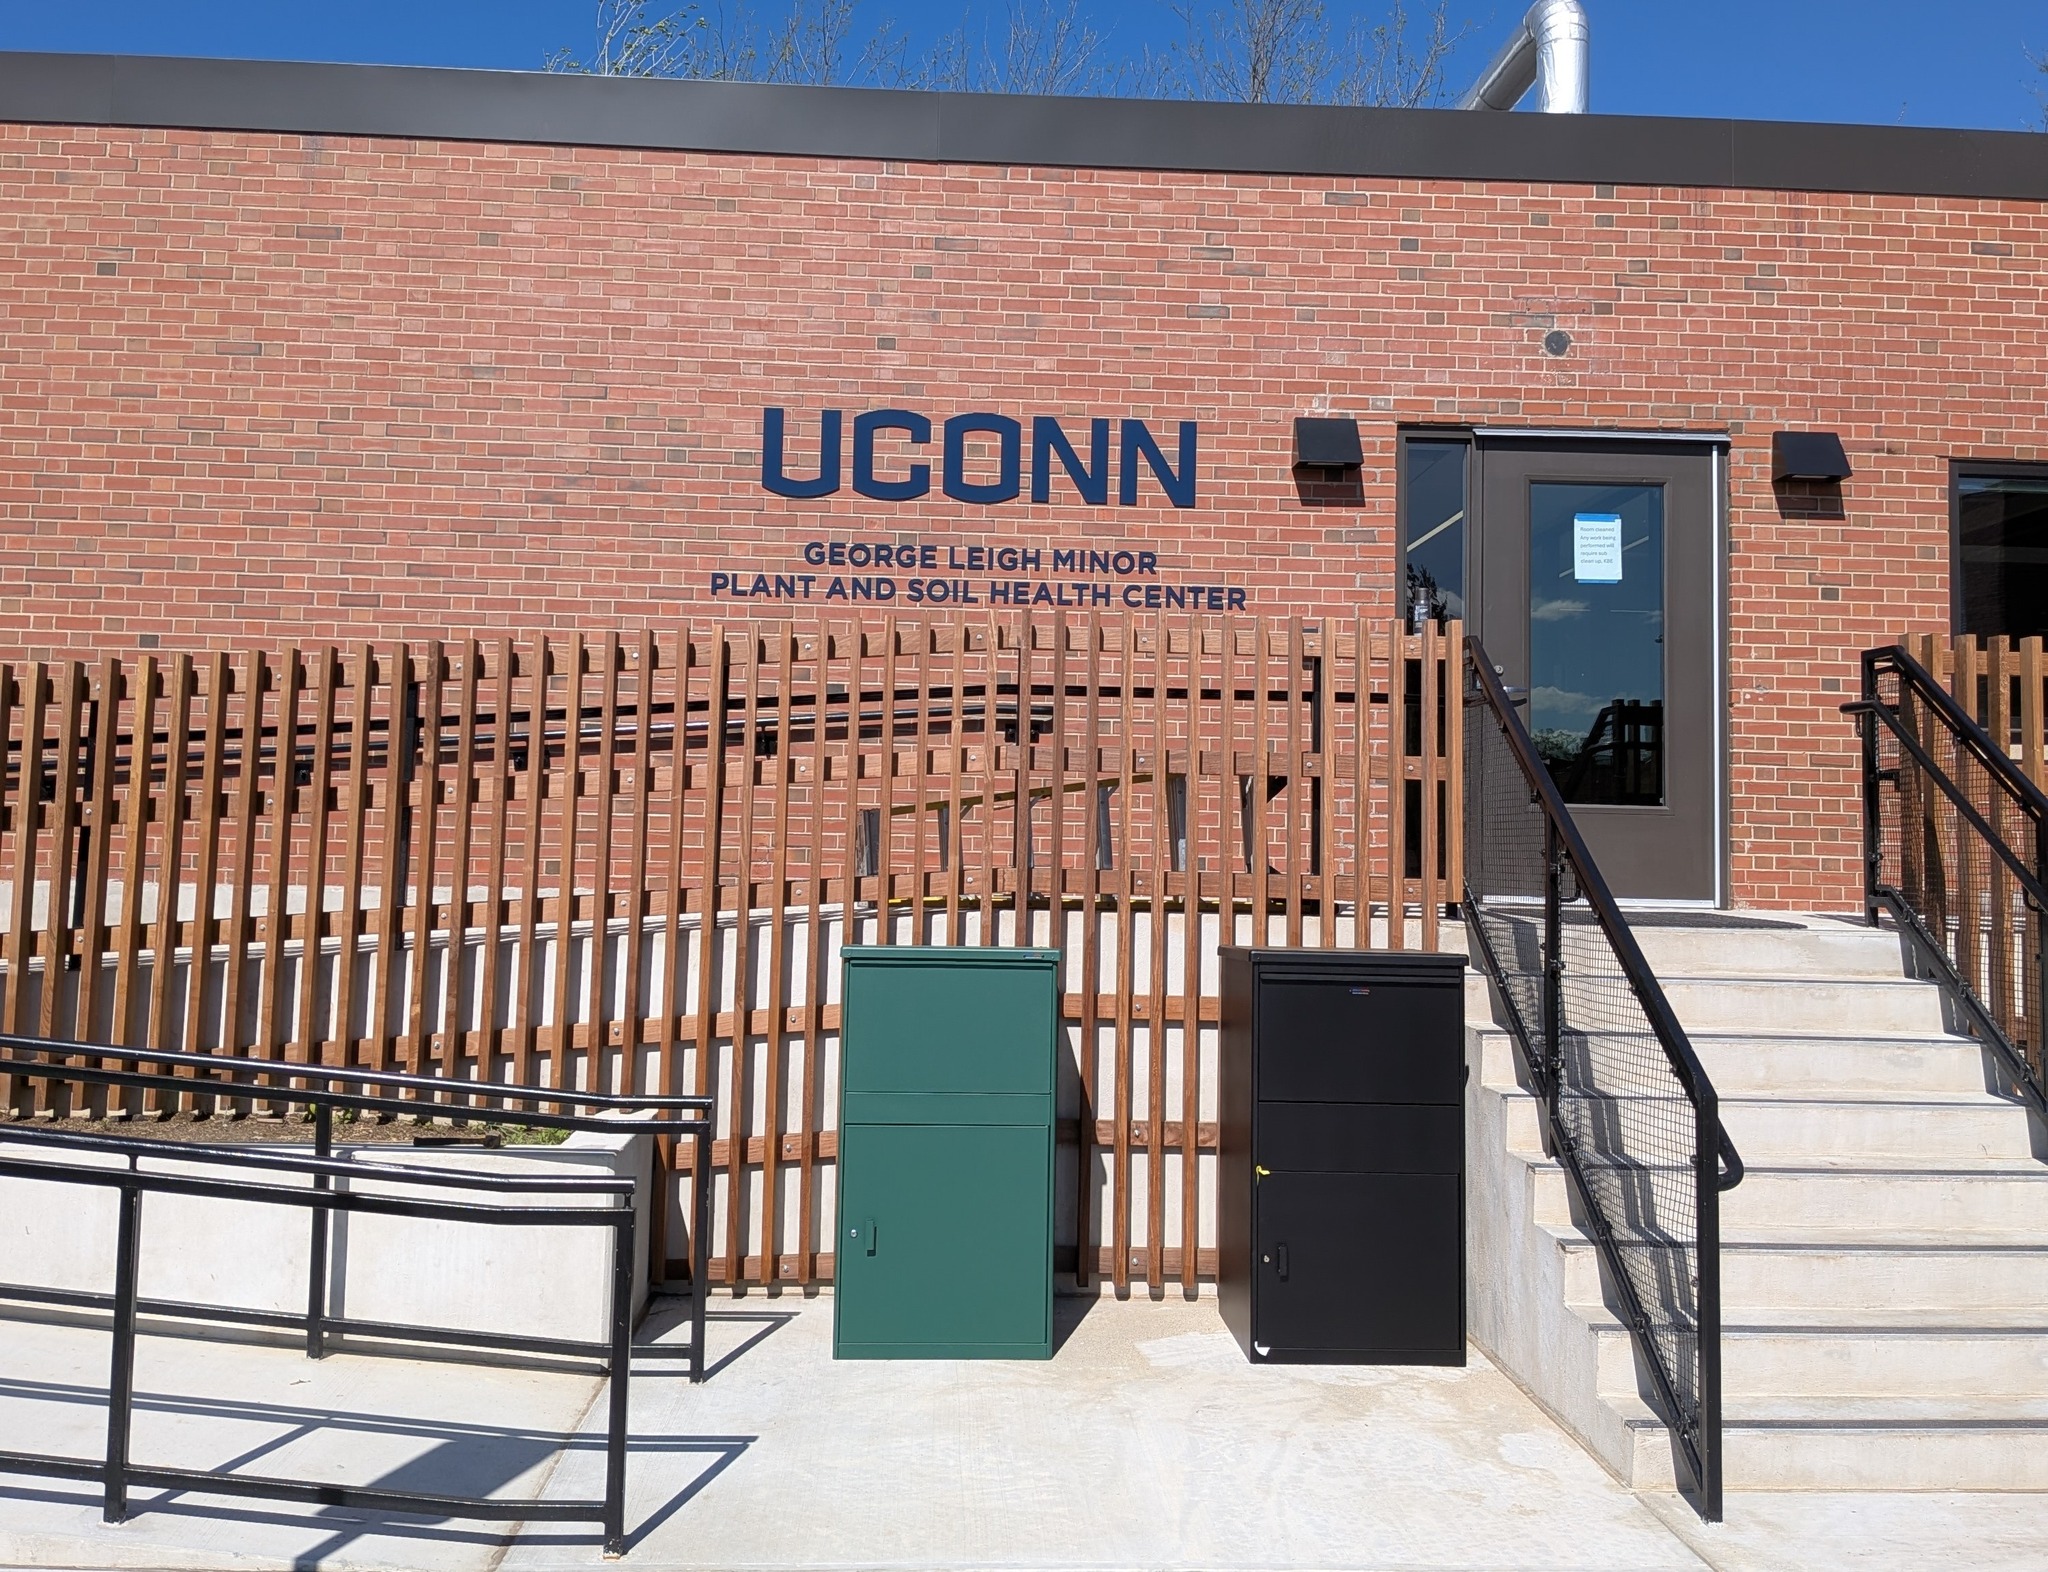
So my office, the UConn Home Garden Education Office in the Plant Science Department has moved to a new place on the Storrs campus. We are directly across from the Dairy Bar. If you're familiar with the UConn Dairy Bar and you ever get to make a trip out here, we are right across the parking lot from them.
00:01:29 Heather Zidack
And it's my office, which offers the home gardening advice as well as our soil lab and our plant diagnostic lab.
00:01:36 Heather Zidack
So it's really cool to have all of us in the same hallway so that we can work a little bit better to get more plant and gardening information out to the public.
So it's an exciting time, but I'm happy to be here today to go through some of these plant resources with you as well.
00:01:53 Stephen Thal
Okay, so how do you want to start? Is the weather the culprit in all of this or?
00:01:59 Heather Zidack
Yeah, it's been a very cold, very cool spring. And so we're seeing a lot of stuff is kind of slow to wake up this year. There are plants that are not leafing out as well as we're used to.
00:02:17 Heather Zidack
We've been getting pictures from clients asking us, Is it still alive? What do I do with it? And our biggest thing right now is telling everybody to just wait a couple more weeks.
00:02:26 Heather Zidack
We're hoping that the weather is going to warm up a little bit, become a little more consistent so that we can start really getting out there into the garden and so there are plants that are going to start looking like we're used to.
00:02:39 Heather Zidack
Different parts of the state are also experiencing very different things.
So I had a client talk to me about this the other day where their trees are fully leafed out and everything looks great. But as they were driving through the state, they noticed some places where it looks like it's not as fully flushed out yet.
00:02:55 Heather Zidack
So a lot of it has to do with the cool. But we also had a drought last fall or at least dry conditions that also contributed to some of it.
00:03:03 Heather Zidack
So our biggest thing is just telling people to wait right now and watch things grow. We're hoping that things will be lush and green really soon.
00:03:13 Stephen Thal
Okay. So I should mention, perhaps might be early, but people should be aware that there may be resources in their own area that could help them with getting ready for their spring and summer gardening experiences.
00:03:32 Heather Zidack
Yeah, absolutely.
00:03:34 Heather Zidack
So a couple resources that are available through UConn. There is our office here, as I mentioned, the Home Garden Education Office, and we answer questions via e-mail, telephone, and walk-in visits. If you have plants that are looking, you know, a little unhealthy or you have some garden insects that's eating your tomatoes, for example, and need help identifying it, we can certainly help with that through those three venues.
00:04:03 Heather Zidack
There's also regional extension offices, and every county in the state has one. They are staffed by the Master Gardener Program, which is a volunteer-based program.
Our Master Gardeners do one semester course, 60 hours of volunteer time, and they are very knowledgeable. So they're throughout the state. The Master Gardener coordinators are available to help with some of these things as well.
00:04:30 Heather Zidack
If you do have concerns with plant diseases, we have the plant diagnostic lab here in Storrs where samples can be sent in at any time. And our lab with their brand new facility, they're very excited to be looking at setting up some new tests this year as well to expand their services.
00:04:48 Heather Zidack
And finally, the soil lab is also here in Storrs. We're all in the same building now. So they help with like soil nutrition and stuff like that.
00:04:55 Heather Zidack
So there's a lot of local places that you can get really good information.
The extension program is pretty wide across Connecticut, and we're here to help gardeners make the right decisions and identify any issues that are coming up in their garden.
00:05:10 Stephen Thal
Now, if they have certain bugs or something, shouldn't they save little containers so they can catch these little varmints and send them off to you?
00:05:20 Heather Zidack
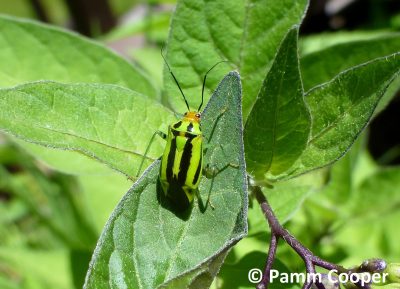
We recommend, yes. If there are any pests in the garden, we can take a look at them.
We recommend that you put them into a little container and put some rubbing alcohol into the container to kill the insect before we take a look at it. But we definitely can.
00:05:35 Heather Zidack
Our specialty is in the garden specifically. So if it's in the home or insects that are affecting your pets or things like that, we don't have that expertise, but we can help with anything that is in the garden, yes.
00:05:51 Stephen Thal
Okay, so we're ready to go. So what do we need to prepare for a good garden this year?
00:05:57 Heather Zidack
So one of the things I wanted to talk about is how everyone gets their information when they're getting ready to start the garden.
There's a lot of information out there right now, and we have access to so many different resources that it's really important as gardeners to kind of be a little bit, you know, scrutinize your information a little bit, make sure that it's the right source, make sure it's accurate, and things like that.
00:06:24 Heather Zidack
There's a couple of different things that are becoming more and more popular as sources for gardening information that I wanted to talk with you about today. We can go through them and talk about things that you should look out for, things that they're good for.
00:06:43 Heather Zidack
The first one I want to bring up - It's been around for a long time, but finding your garden information on the Internet is really, really a good source.
There's a lot of good information out there, but it's really important to be cautious of what you're reading. So if you're especially on social media, you can see a lot of misinformation. You can see a lot of trends and opinions on places like that.
00:07:10 Heather Zidack
If you're looking for really accurate gardening information, you want to look at extension websites for extension programs like UConn Extension or any .edu or .gov site. Every state has their own extension program. So those are really good resources that we partner with for research and things like that so that the information is shared and verified across these different programs.
00:07:38 Heather Zidack
You want to learn the credentials of who's presenting the information to you. Are they like a horticulturalist or are they looking for just clicks to get your engagement on the internet, right? So are you talking to a, you know, a professor or faculty? You know, someone from the USDA, someone from extension, things like that.
These people are professionals who are educated in the field, whereas sometimes there's information coming from people who don't necessarily have the background or the research to back up the claims.
00:08:11 Heather Zidack
So really important to check your sources, look for those EDUs, those .govs, those extension pages, look at who's giving you the information and then go ahead and verify, find another source on the internet that has that information.
So maybe you can find it from more than one source and it is accurate, but just be a little bit cautious with what you're looking at to make sure that it's what you are actually looking for and giving you the right information for your area.
00:08:40 Stephen Thal
Okay, so now what happens if you don't have a computer? Where can you get the information?
00:08:46 Heather Zidack
So a lot of times people can go to libraries to get a lot of that information as well. There are some really good books out there.
It's a really good thing to bring up that we don't want to forget that gardening books still have a lot of good information. A lot of the times, although we are doing a lot of research and learning a lot of new things, some of the tried and true methods are still going to be the same.
00:09:11 Heather Zidack
There's still a lot of factual information in some older texts that we still do today. For example, we still prune trees the same way that we have for many, many years. We still plant our seeds in the same way that we have for many, many years. So going to some of those texts can be a really helpful option as well.
00:09:33 Heather Zidack
And libraries will offer you that access to the Internet, access to those those texts.
00:09:39 Heather Zidack
The other thing, you can always call us if you have any questions. There's plenty of resources out there for people to get the right information they need.
00:09:48 Stephen Thal
Okay. What is your phone number?
00:09:50 Heather Zidack
Our phone number is going to be 860-486-6271. Again, that's 860-486-6271 for the UConn Home Garden Education Office.
00:10:06 Stephen Thal
Okay, is there anything that's an accessible format that can help people do this? Are they still in the process of putting it together?
00:10:17 Heather Zidack
They're still in the process of putting a lot of it together. A lot of UConn's materials, especially in our website, have been updated to be ADA compliant with screen readers and materials like that. So most UConn web pages will have that accessibility available to them.
Also calling or you can come in anytime we can, you know, print off material for you as well.
00:10:43 Stephen Thal
Okay, great. Okay, so now where do we go?
00:10:47 Heather Zidack
So a couple more resources that we have.
One of the things that I did want to mention is the idea of AI, because this is becoming a huge thing. You're hearing about it everywhere. And there is a lot of AI-generated gardening info out there.
00:11:03 Heather Zidack
What AI will do to find that information very similar to an advanced Google search, right They will look through whatever information is available.
So they'll look at commercial stuff, they'll look at personal stuff, they'll look at scientific data, they'll ball it all together and give you an answer. So sometimes it doesn't know what you're exactly looking for.
It's a good starting point, but you need a little bit more to guide it.
00:11:27 Heather Zidack
So if you are going to use AI, even like AI Gemini, Google searches, things like that. Always tell it what information you're looking for and where you're trying to find it from.
So for an example, I'm looking for how to take care of my lilies from extension sources only. That way it tells it to look through extension EDUs to get all of the information.
Tell it I'm looking for information on native plants from my local extension. It'll tell you native plants in the area.
00:12:05 Heather Zidack
So if you can guide AI in the right direction, it can be a really useful tool. But again, you need to verify that information just like you were looking on the internet.
00:12:15 Heather Zidack
Something else that has kind of come up is the idea of AI generated plants.
We've seen this happen a few times in our daily questions and answers with the public, but sometimes there's pictures out there now of these AI-generated plants that look beautiful and they don't exist. It can lead to heartbreak when you're trying to shop.
00:12:39 Heather Zidack
Any signs that it could be artificial would include if there's any missing or extra plant parts, if the flowers are kind of mismatched, if the colors are super brilliant or there's not a lot of uniformity.
00:12:51 Heather Zidack
In general, if it's too good to be true, it might be, so you want to take a look to see if you can find more information about it somewhere else. It's really important when you're shopping for your plants.
00:13:03 Heather Zidack
There is a Connecticut native and sustainable landscaping guide that exists that you can look up online. And that guide tells you a lot of native plants in Connecticut that are going to be helpful for you to plant.
00:13:20 Heather Zidack
There are resources at your local garden centers that can help you find native plants or even exotic ornamental plants, but what fits your garden and your space best. So keep that in mind when using AI.
00:13:37 Heather Zidack
The other thing that I wanted to mention, and we talked about this a little bit before I jumped on, was plant apps. Now you've had a little experience with those, right?
00:13:48 Heather Zidack
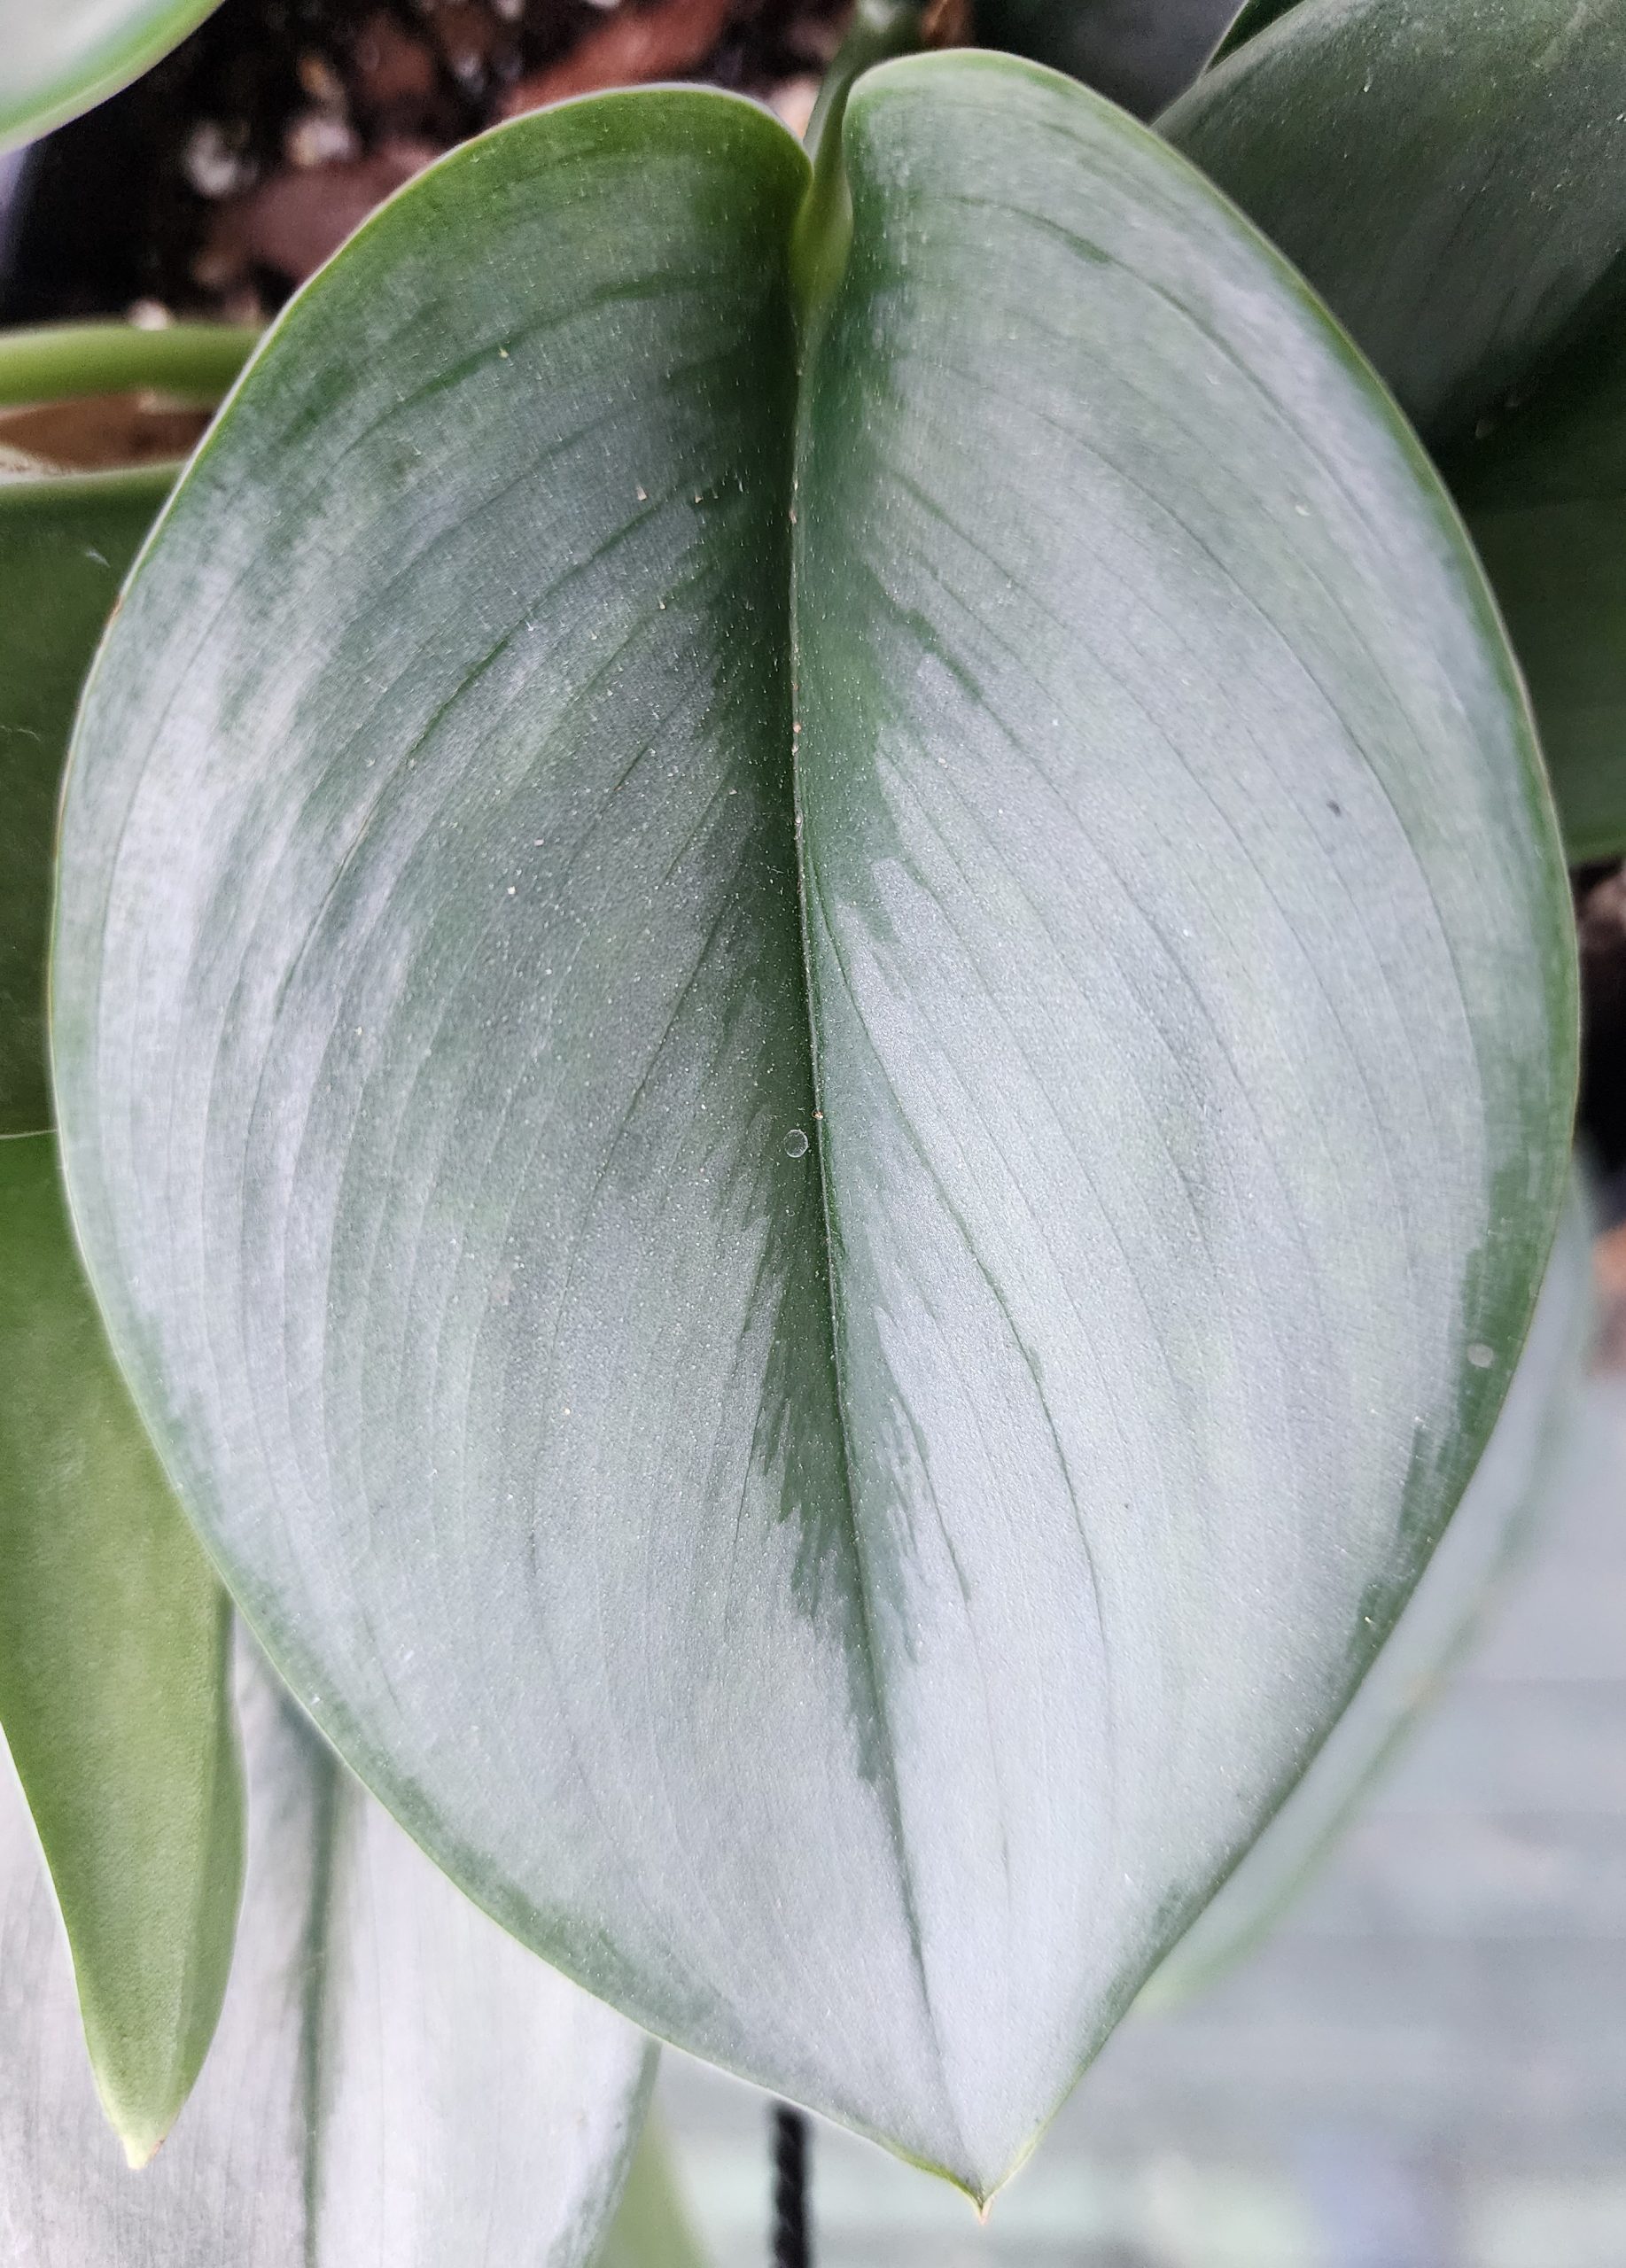
Those can be really good for starting points, especially with plant ID. They're starting to get a little bit smarter. They are being AI infused or however you want to call it. And using these plants can usually get you right in the right direction.
00:14:06 Heather Zidack
They often, you'll take a picture and it'll give you a list of what the plant could be. And you can narrow it down from there based on your location, based on other identified structures that maybe you can't see in the image.
00:14:19 Heather Zidack
For example, if a stem is like a little bit fuzzy instead of just, you know, sleek and time of year. So those can be really important tangible identifying factors. Other things like smell or overall size, texture, things like that can really help you determine if your app is giving you the right information and help you calibrate it because apps often can miss context clues that pictures might not provide.
00:14:47 Heather Zidack
So, for example, if you take a picture of a plant and there's no size reference on it, the app may determine that it's bigger or smaller than what it really is. There is a plant out there called giant hogweed, which there's a lot of anxiety about. And it can get up to like six to eight feet tall. It flowers later in the fall or later in the summer, sorry.
And a plant app could pick it up. But there are a handful of lookalikes that bloom at different times of year. They bloom at different sizes. And they are just not the same.
And then a photo may not give you that information.
00:15:32 Heather Zidack
So with plant apps, you always want to use them as a starting app or a starting point and work from there.
So it'll give you a list of things that it could be and then you want to verify that it's blooming at the right time of year, it's the right size, it's in the right location to make sure that it is what you're actually being told.
00:15:53 Heather Zidack
They unfortunately are not nearly as developed for plant health diagnostics. So they can There are ones that claim to give you an idea of what's wrong with the plant or what it needs, if it needs nutrition, if it needs water, things like that.
Be really cautious with these. There's just too much nuance at this point.
00:16:13 Heather Zidack
So just like when you get sick, not every symptom can be seen and further assessment is needed, especially with plant health. And there's a lot of lookalikes out there.
00:16:23 Heather Zidack
So leaf spots can be caused from bacteria, fungi, environmental conditions, all sorts of things that you need to narrow down with additional information.
So those are better given to a plant pathologist or a plant diagnostic lab, whereas using the apps for identification is really the best use of them right now, keeping in mind that you do those few things to narrow it down.
00:16:49 Heather Zidack
The other really good thing the apps are kind of making their way towards is there are some that can help you with your landscaping.
So with those, you can take a picture of your landscape and they can insert little plants to make it so that you can see what it could look like. That's another really good use of plant apps just to get that information.
So once you get the information you need, you can start building your garden or managing your garden in a better way.
00:17:24 Stephen Thal
Okay. We're interviewing Heather from the UConn Plant and Science Center, but she's trying to give us a lot of good resource information as well as information for planning.
It's not just throw a few plants in and you're off and running, I think. You have to understand the habitat of your own environment you're working in.
00:17:50 Stephen Thal
And she's describing some of these now in order to help. And of course, as we go on throughout the year, different things will come up depending upon the weather changes and depending upon the soil changes too. Correct.
00:18:09 Heather Zidack
Yes, so that's a huge thing that we're starting to see and we see first thing in the spring is that temperatures are really important and plants are very sensitive to temperatures both in the air and in the soil, like you mentioned.
That can be an indicator of when we start putting plants out into the garden.
00:18:31 Heather Zidack
When plants are, we see like the soil temperature rise, that's slower to rise than the air temperature. So in early spring, when we start seeing soil temperatures around 50 degrees or so is when we start getting excited and doing things in the garden.
That's usually when the forsythias bloom. That's a good indicator.
And at that point we can start planting like our cold crops, our brassicas, our cool season herbs, root vegetables, things like that. They like the soil temperature at like 50, 60 degrees.
So a lot of gardens by now already have those planted and they're doing pretty well.
00:19:10 Heather Zidack
Whereas you have, once we get 50 to 60 degree air temperatures at night, you start being able to bring out more of your warmer season stuff, so your annuals, your hanging baskets, your vegetables that are like peppers and tomatoes, the warm season stuff.
All of that can start going out when we start seeing nighttime air temperatures at between 50 and 60 degrees.
00:19:37 Heather Zidack
The one thing that I tend to caution people about is that once we're at that temperature, it's It's not quite over yet, right? We all know New England spring, there's going to be a random frost somewhere in the equation.
So you have to be able to cover your plants if they're planted. If we're getting a frost, a lot of plants are susceptible to damage when it's too, too cold.
00:20:01 Heather Zidack
So you can cover things with like You know, if you're in a pinch, use a bed sheet or a towel. You can use, you know, just breathable materials.
You never want to use tarps or plastic.
And if you do have the opportunity, you want to use some stakes to kind of tent it up so that there's some airflow and some warm air there keeping the plants safe.
So that's a really good caution.
00:20:27 Heather Zidack
If you're out and you're shopping for garden stuff now, you're looking at perennials and shrubs, most of them should be able to go outside the day you purchase them, especially if you're in a garden center where they're storing all of their plants outside.
Odds are that they've been hardened off and ready for the season to come.
00:20:44 Heather Zidack
If you're buying something that is in a greenhouse, it may not be ready and it may need to be transitioned. Best thing to do is to ask your garden center professional for clarification.
Is this okay to go outside? Has it been growing in a greenhouse all this time?
Those kinds of things will help you determine whether you can put it outside yet or not.
00:21:04 Heather Zidack
Your houseplants definitely may benefit from doing field trips in and outside for a couple of weeks before you get them fully outside.
00:21:13 Heather Zidack
One of the things that's really important is if they got full sun in your house, you don't want to put them out in the direct sunlight right away.
Your window panes tend to filter a lot of light, especially the newer window panes have the UV blocking technology and stuff and they're not getting a full spectrum of light in the same way.
So you want to put your house plants in a place that has bright indirect light first and give them a couple of weeks to transition before you put them right out in the full sun.
Plants can actually get sunburned just like we can. So you want to make sure.
00:21:49 Heather Zidack
The other thing too, you know, looking at your hanging baskets and things like that, they may also benefit from those little field trips in and outside. They're really easy to move if you've got a frost coming. So that's really good to keep in mind.
00:22:06 Heather Zidack
So that's some shopping tips right now of like what can go outside and what can maybe hang back for a little while longer.
00:22:15 Stephen Thal
That's great. A lot of good information.
And of course, plants and gardening, that's a huge field. Even if you're going to be doing smaller things inside.
00:22:28 Stephen Thal
Do they ever do herbs as houseplants or they have to be outside?
00:22:35 Heather Zidack
Herbs are great for indoors as well as outdoors. They don't get too big. They don't necessarily require as much sun as some plants.
00:22:48 Heather Zidack
In general, when we're looking at plants, the more showy their flowers, the more light they tend to need.
Now there's exceptions to every rule, but a lot of plants, especially our herbs, our vegetables, the more that they produce fruit and flower, the more sunlight they need.
00:23:07 Heather Zidack
The great thing with things like herbs like basil and parsley, they do produce flowers, but that's not ever what we're looking for from them.
So by keeping them on a windowsill, they will get enough sunlight to produce the leaves. That's what we're looking for for culinary purposes. And so those can be a really good thing.
00:23:26 Heather Zidack
They can also be great if you're just getting into gardening. They seed really quickly, they don't take up a lot of space, and it's a really good chance to learn on something that's kind of easy.
00:23:39 Stephen Thal
That's good. Any other interesting things we need to look at for this year?
00:23:45 Heather Zidack
Yeah. Well, for this spring, looking ahead, couple of cautions that I have for people is to avoid pruning anything that blooms in the spring just yet.
We do have phone calls occasionally at this time of year where people are asking if they can prune their lilacs, their hydrangeas, their azaleas, rhododendrons, things like that.
And right now we recommend that you wait.
00:24:13 Heather Zidack
If you prune too early on a lot of these plants, you could lose their flowers for the season. They actually do set their buds in the fall. So those flower buds are already there and if you cut them back, you could be removing flowers.
So even those hydrangea sticks look really ugly, give them a little more time. They could have flower buds on them and you wouldn't want to miss them this year.
00:24:38 Heather Zidack
Another thing is that it's a great time to divide and transplant your fall and summer blooming perennials.
Leave your spring blooming stuff because it's in the middle of having its show for the season, but you can move some of those other things still in May.
00:24:57 Heather Zidack
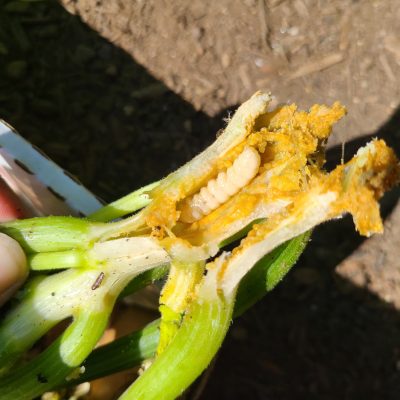
Another tip that I give a lot of people is as you're planting, especially vegetable gardens, if you have issues with insects and pests, put netting as you're planting to help. It takes another thing off the list. You don't have to go back and do it later.
00:25:14 Heather Zidack
If you do your netting, when you do your planting, it'll help keep those pests away for longer. but depending on what you're planting, you may need to remove those so that pollinators can get in. So always make sure that that's in line and then
00:25:30 Heather Zidack
The biggest reminder is to remember to water because as we've seen with different springs, sometimes we get trained if we have a really rainy spring to not get in the habit of watering.
So even if you don't have to water because there's rain, it's really good to check the soil and make sure that you do or do not need to water.
00:25:51 Heather Zidack
So what you can do to do that is you wanna dig up a little bit, take a little handful of soil, squeeze it in your hand.
If you open your hand and that soil holds shape, then it's probably good on water for a little while longer.
If you open your hand and it turns to dust or falls apart, is really crumbly, that may need water to supplement.
And if you squeeze your hand and you have water running out of your hand, you're definitely overwatered and you need to wait until your next watering.
00:26:20 Heather Zidack
This can be effective for your house plants as well as your plants in the ground because you can kind of get a gauge of what the soil feels like to help you decide if you need water.
00:26:31 Stephen Thal
Boy, a lot of information coming up, especially when people have big gardens they have to manage. What kind of protective gear should people be wearing as they're gardening? Many people forget that's part of the whole process.
00:26:45 Heather Zidack
Yeah, it's really important to make sure that you're protecting yourself when you're outside.
One of the big things that I recommend is make sure you're wearing long pants and long sleeves, just like a lighter material if you can. By doing that, you're going to keep anything from brushing against your skin that might cause an irritation.
00:27:05 Heather Zidack
So some people are very sensitive to different plants and it may be that they need a little bit more protection.
00:27:13 Heather Zidack
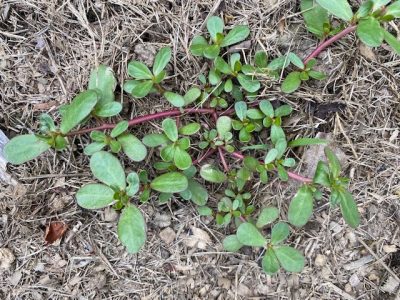
So especially if you're handling a plant that you don't know what it is, long pants, long sleeves, gloves, and closed-toed shoes are a must.
So those big thickets that you're trying to weed out for the season, make sure that you're fully covered and that your skin is covered because you don't know what's in there necessarily.
And if you've ever gotten poison ivy, you know that you don't want to get that if you're in a dense kind of thicket area.
00:27:40 Heather Zidack
Other important thing, it's really important to wear a hat when you're out in the sun.
Sunscreen as well to make sure that you are protected from the UV as well as sunglasses can be really important.
00:27:53 Heather Zidack
We've seen people though will garden in flip flops and shorts and they can do that too.
But if you are working in, like I said, especially in an area of your property where you don't know what's growing there, the more covered you can be, the better.
00:28:09 Stephen Thal
And also to stay hydrated.
00:28:11 Heather Zidack
Yes, super important, especially when we get into those hot days.
When I worked at the garden center, I used to tell people to water the plants and water yourself.
00:28:23 Stephen Thal
Why don't you repeat the numbers one more time? People can call for help. Now, is there a charge for this?
00:28:30 Heather Zidack
No, this is a free service. So emails and phone calls to our office are free.
00:28:37 Heather Zidack
Our plant diagnostic lab and soil lab have their own payment structures and things, which you'd have to contact them for more information.
But you can always call us first and we can point you in the right direction if you have any questions.
00:28:51 Heather Zidack
So it's just one number to write down for now, and that would be 860-486-6271. Again, that's 860-486-6271.
00:29:05 Stephen Thal
Okay, well, we want to wish you success in your move as well as enjoying a new place that makes you give you a breath of fresh air.
00:29:16 Stephen Thal
Thank your entire staff for helping with the move as well as others, and thank you for coming on and sharing a few moments of helping us to prepare and plan for this coming spring year, and we hope to get you back in, I guess, the fall.
00:29:35 Heather Zidack
Sure thing. Thanks for having me.
00:29:37 Stephen Thal
Yep. Take good care.
00:29:38 Stephen Thal
This is Steven Thalwith another segment on Focal Point. Thank you for allowing us into your homes.
00:29:44 Stephen Thal
We want to thank Heather and her staff for all they do to get this information together and collect it so that we all can benefit from many aspects of their situation.
00:29:57 Stephen Thal
Now, phone numbers have been given and we hope you're able to follow up and learn like all of us do.
00:30:05 Stephen Thal
In closing, we want to remind everybody to please wear a hat and sunglasses to protect yourself.
As Heather said, in the garden and everything, you got to wear long pants and long sleeve shirts and do the work mostly in the morning, right? It's the coolest.
00:30:23 Stephen Thal
We like to also remind you about emergency planning, especially in your home. or when you're volunteer working, learn about what the emergency plans are and get everybody involved in your family and also practice them. That's the key thing.
If you need additional resources, contact your local fire and/or police department and they can guide you as to where you can get the best help.
00:30:52 Stephen Thal
Again, have a safe summer and be safe, especially against the sun and other things in the garden that may be of hazard.
Thank you all for listening and have a great great summer.