Chaos gardening is a growing social media trend that encourages gardeners to relinquish control, scatter assorted seeds, step back, and see what happens. Instead of carefully spacing plants and planning layouts, chaos gardeners toss seeds and let nature decide what grows where. The results can vary widely, ranging from a surprising assortment of plants to a patch of disappointment.
Unlike traditional gardening, this approach emphasizes spontaneity over structure. For many, the appeal lies in its simplicity. Chaos gardening is easy to start, requires minimal knowledge, and often relies on leftover or inexpensive seed packets. The low-stakes, experimental nature makes it especially attractive to busy people or those new to gardening.
Still, the trend raises valid questions. Without site preparation or ongoing care, how well can seeds establish? And does “letting go” invite weeds into the garden under the guise of wildscaping?
In practice, chaos gardening often produces mixed results. While the concept is appealingly simple, success rates can be low, and plantings may struggle to persist long term. Still, gardeners interested in the trend can improve their chances of success by following a few simple suggestions.
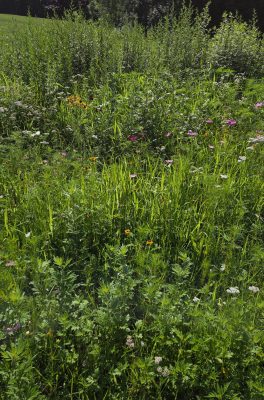
Avoid using this approach in large or prominent spaces. Start small, either in a container or a less visible area of the yard. To maintain a sense of experimentation, while increasing success, consider focusing on a single species at a time or scattering spring bulbs through an existing lawn. Tossing out a packet of “wildflower” seeds may sound charming, but it will not produce an instant, picture-perfect meadow. More often, it results in a steadfast patch of mugwort.
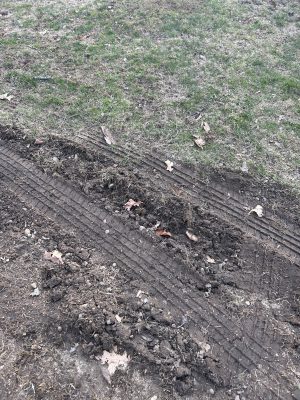
Even with a relaxed approach, a bit of planning goes a long way. Key factors such as sunlight and soil conditions still matter. The principle of “right plant, right place” applies regardless of gardening style. Identifying site conditions, selecting appropriate species, and preparing the planting bed can significantly improve outcomes.
Gardeners should also approach seed mixes labeled “wildflower,” “pollinator-friendly,” or “native” with some caution. While not inherently problematic, these mixes can contain species that are poorly suited to local conditions. A quick review of the species on the list can help inform decisions about whether the plants are suited to the region or growing conditions.
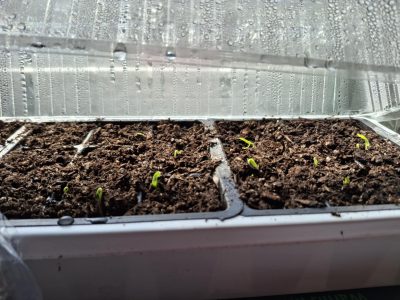
Learning how to recognize seedlings, including common weeds and invasive plants, is another important step. Early identification allows gardeners to remove undesirable species before they establish. Observing which plants succeed can also guide future efforts, gradually transforming a disorderly patch into a more reliable and productive space.
Patience is essential. Many perennials grown from seed take more than one season to flower. Including a mix of annuals and perennials can help maintain visual interest while longer-lived plants establish. As with any gardening method, some trial and error is expected.
Chaos gardening may never replace traditional approaches, but it offers an accessible entry point for beginners and a creative outlet for experienced growers. With a balance of spontaneity and informed decision-making, even an unstructured planting can become a living experiment.
The UConn Home Garden Education Office supports UConn Extension’s mission by providing answers you can trust with research-based information and resources. For gardening questions, contact us toll-free at (877) 486-6271, visit our website at homegarden.cahnr.uconn.edu, or reach out to your local UConn Extension Center at extension.uconn.edu/locations.