By Dawn Pettinelli, UConn Home & Garden Education Center
For many, the sight of a lush green lawn brings about the desire to cast off one’s shoes and stroll through the sun-warmed grass feeling the soft verdant carpet below. Lawns, or at least grassy areas, are a ubiquitous part of almost every home outside city limits. While admittedly that perfect lawn is a source of curb appeal and homeowner pride, in recent years considerable attention has been given to the ecological and environmental costs of maintaining turf that is the envy of the neighborhood.
Managed turf grass areas, including golf courses and park areas cover about 8 percent (400 square miles) of the land area in Connecticut. That perfect lawn typically requires supplemental irrigation, fertilizer, regular mowing and often pesticide applications. Water could be better used for drinking, other domestic uses and just left in natural systems. Excess nutrients as well as pesticides can be found in ground and surface waters causing both human health as well as ecosystem problems. While some are turning to electric mowers and blowers, gas-powered equipment dependent more on fossil fuels, are most prevalent (at least in my neighborhood) contributing to climate change.
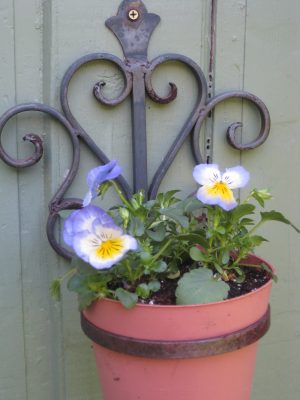
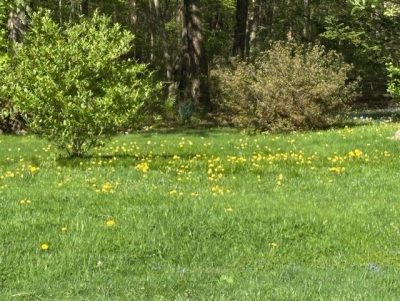
So what is a residential lawn owner to do? The authors of Redesigning the American Lawn were among the first to coin the term “freedom lawn.” So, what is a freedom lawn? Basically, anything that is green is allowed to grow. That would include dandelions, self-heal, violets, bluets, buttercups, clover and wild strawberries to list a few of those so-called “low growing broad-leaved plants”. By my definition, weeds are plants growing in the wrong place, so the plants are weeds no longer when accepted as part of the lawn.
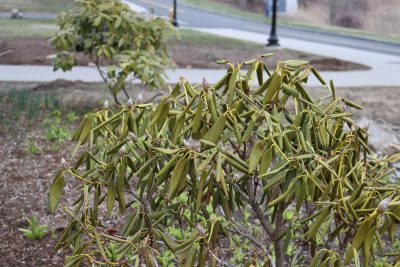
One of the greatest reasons for encouraging a variety of plants to inhabit turf areas is that the world is facing a critical loss of biodiversity. There are significant declines in beneficial insect, native plant and bird populations, along with other living organisms. While that lush green lawn offers aesthetic pleasure to some, it does little to provide habitat or food for creatures other than problematic ones like grubs or chinch bugs.
A mixed grass- herbaceous plant lawn will contain flowering plants for pollinators and other beneficials. Various plant species have varying root systems. Some have deep taproots that break up compacted soil and bring up minerals. Others have more fibrous root systems that are continuously turning over added organic matter to the soil. A variety of plants along with their root exudates and associated microbes can help aggregate the soil, improving air and water passage. Porosity plus water holding capacity can be increased as well as lessening the potential for topsoil erosion. A healthy plant community usually portends a healthy soil.
Leaning into a freedom or pollinator lawn does not mean digging up one’s entire lawn and reseeding it although that is one option. Two seed mixes that I have seen advertised are Flawn and Fleur de Lawn. Both contain a mixture of fescues, microclover and the latter, some other flowering species. Probably greatest success with these seed mixes would be achieved starting with bare soil.
One can start encouraging biodiversity and pollinator plants by discontinuing the use of herbicides and allowing some flowering plants to move in. Often, they can be mowed before they set seed. When reseeding bare spots, use more drought tolerant fescues or native grasses like little bluestem to reduce the need for irrigation, once established. Higher mowing heights up to 3 or 4 inches will encourage deeper rooting of all plants making them more resilient during periods of drought.
Learn about the benefits of some of the low-growing broad-leaved plants that want to call your lawn home. Clovers add nitrogen to the soil reducing the amount of fertilizer necessary. Violets are host plants for the endangered regal fritillary. Dandelion greens are a great source of vitamins A and C. It is true that many of these plants are not native, but neither are the cool season turf grasses normally found in lawns.
In many yards, keeping part of it in lawn is essential for children’s play and sports activities, pet areas and entertaining. Take a tour of your yard and determine where a lawn makes sense and where it might be more appropriate for woody plants, ornamental beds or even a vegetable garden. Steep slopes or perpetually shaded areas may be best for groundcovers. Areas where water frequently collects after heavy rains might be more suitable for a rain garden.
However small, every effort to encourage biodiversity, provide for our beneficials and improve soil health is a step in the right direction. Rethinking your lawn areas might be a good place to start.
For information on lawns or any other gardening topic, call the UConn Home & Garden Education Center (toll-free) at (877) 486-6271 or email us at ladybug@uconn.edu or visit our website, www.homegarden.cahnr.uconn.edu.