This year, Connecticut’s notably dry summer conditions have continued into fall. According to the U.S. Drought Monitor, all counties are abnormally dry for this time of year, and some are even considered to be in a moderate drought. Thus, many trees, shrubs, and perennials are heading into winter low on moisture. These conditions combined with the dry air, low precipitation, and fluctuating temperatures characteristic of Connecticut winters can lead to plant damage if no supplemental water is provided. Many of your plants will benefit from a deep final soak before the ground freezes.
Fall drought stress often doesn’t show up until spring, or even the following summer.Affected plants may appear perfectly normal and resume growth in the spring, using stored food energy. Plants may be weakened or die in late spring or summer when temperatures rise. Browning evergreens, delayed leaf-out, and sudden dieback are common signs of plants that went into winter too dry.
Moist soil is so important in the fall and winter months because it provides insulation to the roots. It may seem counter-intuitive, but properly hydrated soil does a much better job at protecting roots from freezing temperatures than dry soil. Root damage occurs for this reason when plants do not receive enough late-season moisture.
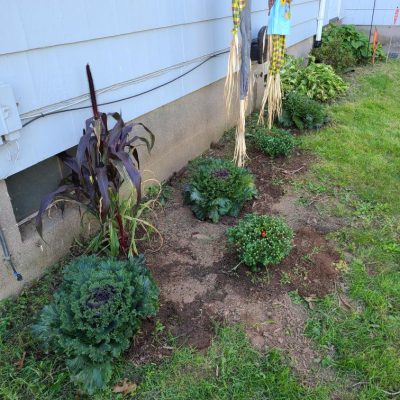
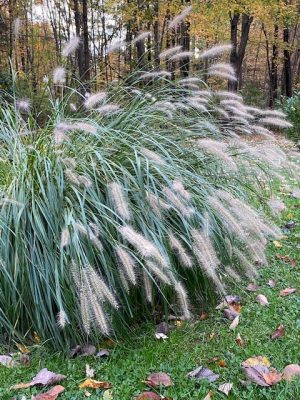
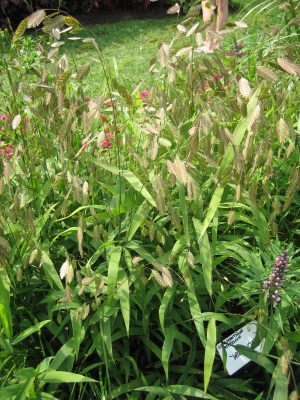
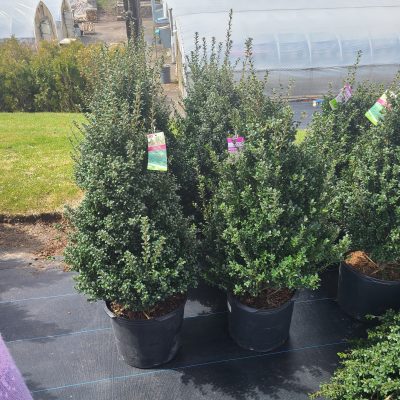
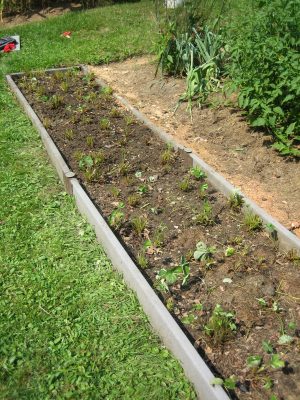
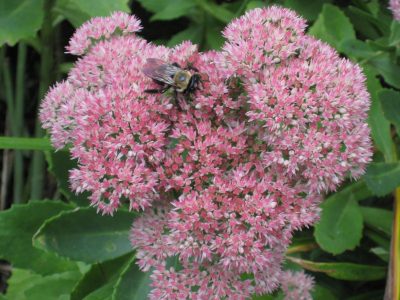
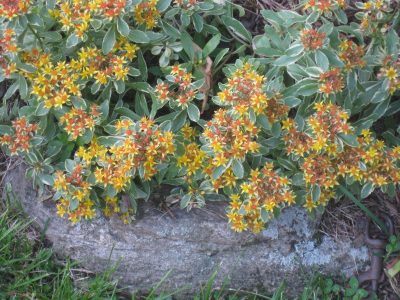
Woody plants with shallow root systems require the most supplemental water during extended dry periods in the fall and winter. Trees in this category include maples, birches, willows, and dogwoods. This category also includes perennials, and shrubs like hydrangeas, boxwoods, and azaleas. These plants benefit from mulch to further conserve soil moisture and buffer the roots from temperature swings. Apply mulch about 2 to 4 inches away from the trunk all the way to the outermost reach of its branches in a doughnut shape.

Evergreens also benefit from fall and winter watering because they do not go dormant in the winter. Evergreens of any age are still actively respiring during the coldest months of the year and will continuously lose water through their needles. If they go into the winter with dry soil, they are more likely to have a difficult spring recovery. This is especially true for those in open or windy areas.
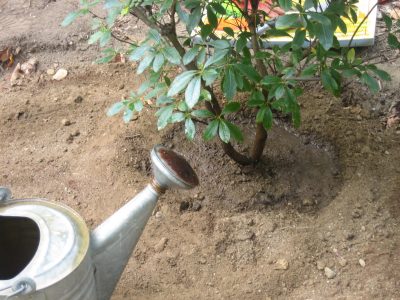
Only water when daytime temperatures are above 40°F, ideally in the late morning or early afternoon so the water can soak in before possible freezing at night. Feel the soil at a depth of 4 to 6 inches to ensure that supplemental water is necessary. Soil should be consistently moist, but not oversaturated or muddy. Stop supplemental watering after the ground freezes because plants cannot absorb water through frozen soil. To water, use a soaker hose to provide a slow stream of water that can penetrate deeper into the soil with limited runoff. If your hose is already stored away for the winter, and your tree or shrub is small, consider drilling a 1/8-inch hole at the bottom of a 5-gallon bucket and filling that with water for a slow, steady stream. If dry weather continues into the winter and there’s little snow cover, additional watering once or twice a month may be needed until the soil hardens.
A final round of watering now can prevent root injury that won’t be visible until much later. Evergreens, deciduous trees, and other landscape plantings will head into winter stronger with a little extra attention this month. Giving the soil one last watering before it freezes is one of the simplest ways to protect your landscape from winter stress.
The UConn Home & Garden Education Center supports UConn Extension’s mission by providing answers you can trust with research-based information and resources. For gardening questions, contact us toll-free at (877) 486-6271, visit our website at homegarden.cahnr.uconn.edu, or reach out to your local UConn Extension center at extension.uconn.edu/locations.