Your Raised Beds Worked Hard All Season—Garden Pros Share 6 Ways to Help Them Recover Before Winter
The Spruce – Heather Zidack and other gardening professionals recommend their top tips to help your garden beds prepare for winter.
Your Raised Beds Worked Hard All Season—Garden Pros Share 6 Ways to Help Them Recover Before Winter
The Spruce – Heather Zidack and other gardening professionals recommend their top tips to help your garden beds prepare for winter.
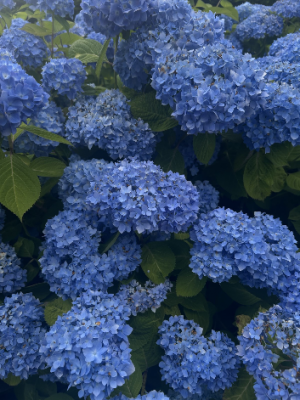
Blue is a color seldom seen in nature. Although the sky and bodies of water appear blue, very few animals and plants also exhibit this striking color. Anthocyanins, a type of pigment, are responsible for creating the red, purple, and blue hues found in plants. Anthocyanins are sensitive to environmental effects, such as acidity and the presence of metal ions. A primary example of this phenomenon is seen in the primary pigment Delphinidin, a type of anthocyanin. Delphinidin changes color in the presence of aluminum ions, which become more soluble/available in acidic environments. Bigleaf hydrangeas contain this pigment, infamously lining the neighborhoods of Connecticut in a range of pastel blues to deep fuchsia hues dependent on soil pH levels.
Other plants, such as the blue oil fern, can appear iridescent blue due to structural color. Since they are accustomed to the dim understory of the rainforest, these plants must take advantage of as much light as they can get. Many plants reflect green light the most, creating their characteristic green hue. Blue oil ferns have specialized chloroplasts on the surface of their leaves called iridoplasts, allowing the plant to capture more green light rather than reflect it. These iridoplasts create a shiny blue appearance despite no blue pigments being present. The arrangement of photosynthetic membranes in iridoplasts creates an optical nanostructure known as photonic crystals that slow down and concentrate light, ultimately allowing the plant to use available light more efficiently.
Many companies have taken the rarity of blue plants as a challenge, working to engineer a blue flower themselves. Roses, orchids, and chrysanthemums have been genetically modified in recent years to achieve this goal, but the results thus far have only yielded shades of purple. One project, the Phalaenopsis Blue Gene Orchid engineered in Japan, was recently deregulated in the United States and thus approved for sale (though not yet widely available). A Delphinidin gene was inserted from an Asiatic dayflower into a pink “Wedding Promenade” orchid. A white orchid flower, an apparent blank canvas, could not be used as a starting point because Delphinidin needs co-pigments to bind and stabilize the color—White Phalaenopsis lacks these important support molecules. The Blue Gene Orchid flowers in a deep purple-indigo, likely due to its intracellular pH and naturally occurring co-pigments that bind and alter coloration.
The easiest method, however, to acquire blue flowers may be available in your kitchen: food coloring. If you place cut flowers into a cup of water with blue food coloring (20-30 drops), the water will be sucked up through water transport tubes (xylem), giving your flowers a pleasant blue coloring. While artificial, it allows for unique customization and can be a great experiment to do with kids. White carnations and roses worked best when I attempted this for my second-grade science fair. Grocery stores selling blue flowers often use this trick via stem injection or may also paint blue coloring on the outside of the flower. While a standalone blue pigment doesn’t exist in plants, nature has found a way to create a beautiful rainbow for us to enjoy!
Gardening Season Isn’t Over Yet: 6 Fast-Growing Flowers You Can Still Grow Through the Start of Fall
The Spruce – Heather Zidack joins other gardening professionals to recommend fall blooming annuals for extending your season of color.
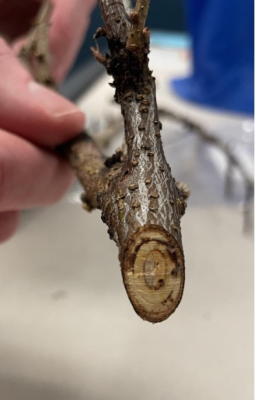
Vascular plant diseases present a complex series of challenges, both in diagnosis and management. Pathogens of this nature invade the roots and vascular system of their host, stifling the ability of water and essential nutrients to travel throughout the plant. Without proper vascular function, leaves become yellow and wilted. Abnormal discoloration and the pattern which it forms within stem or branch tissue is often the key indication that a vascular disease may be present.
Two of the most prominent vascular pathogens are fungal species of Verticillium or Botryosphaeria. Both infect a wide array of hosts, overlapping to encompass many ornamental trees, shrubs, and vegetable crops. While there are many similarities between the diseases these pathogens cause, there are also defining characteristics which distinguish one from the other.
Verticillium dahliae and verticillium albo-atrum have the potential to cause verticillium wilt. Hosts span from vegetables like tomatoes and potatoes to trees like maple and ash. The fungal structures of either species inhabit soil where infected plant debris has decomposed. There, they can survive for 10-15 years. During the pathogen’s dormant phase, survival structures called microsclerotia germinate. Hyphae (filamentous fungal growth structures) are emitted from these structures and can extend to potential hosts within limited distances. Verticillium inoculates hosts by entering root tips or other areas of root formation, breaking through exterior layers to reach the vascular tissue inside. Conidia (spores) are formed in this location, dispersing to other potential hosts, while Verticillium continues to spread throughout the plant.
Although Verticillium wilt symptoms differ among hosts, abnormalities like leaf yellowing (chlorosis) or browning, wilting, and branch dieback raise suspicion of infection across the board. Symptoms may be isolated to one side of the plant or individual branches. Branch or stem discoloration is another key indicator of infection, accompanied by a streaking and a characteristic ring-shaped brown pattern on the interior of woody tissue. Damage is often concentrated in the lower areas of the plant, as Verticillium invades hosts from their base, working upwards.
The persistence and longevity of Verticillium structures in soil makes crop rotation and the destruction of diseased tissue crucial to disease management. While it’s usually best to remove the diseased plant entirely, woody plants with minor infections can survive for several more years, provided affected branches are pruned away and tools used for pruning are disinfected after use. Rubbing alcohol is a good choice, but there are several other disinfectants on the market labeled for use with tools. Do not compost or use diseased tissue for wood chips, as remaining fungal structures will survive for several years and may infect new host plants.
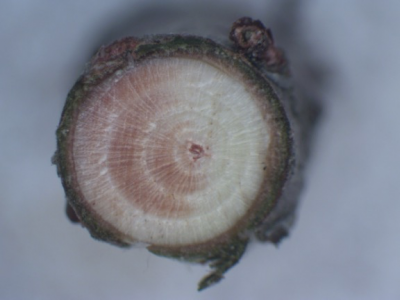
Botryosphaeria canker and dieback are attributed to several causal agents in the Botryosphaeriaceae family. Botryosphaeria is an opportunistic pathogen, choosing already stressed plants to infect and taking advantage of their weakened defense systems. Stress can stem from many sources—frequently environmental challenges, insect infestations, or prior instances of disease. While this group of pathogens has an extensive range of hosts, it is often observed on woody ornamentals—viburnum or rhododendron, for example—and trees like dogwood or maple. Fungal structures overwinter on previously infected tissue, or as endophytes which silently colonize plants without causing symptoms until they become weakened. Botryosphaeria uses many routes of entry when invading its hosts, including open wounds, cracks, or lenticels—porous openings on branch and stem tissue used for gas exchange.
As a vascular pathogen, wilting and dieback are characteristic symptoms of disease, accompanied by necrotic patches on bark and branches. Branches become girdled, and sunken cankers are evident. Depending on the host, sap may ooze from these areas, and black fungal sporulation (pycnidia) may be visible. Unlike verticillium wilt, interior vascular discoloration due to Botryosphaeria infection appears in wedges, resembling a slice of pie.
To manage Botryosphaeria canker and dieback, it is important to minimize sources of stress which can leave plants susceptible to infection. Appropriate pruning and sanitation practices, routine fertilization in accordance with the plant’s needs, and protection from environmental stressors (drought, heat, or cold) are all vital to maintaining vigor. Take care to prevent mechanical injury and wounds, minimizing the potential modes of entry for the pathogen.
As is the case with all plant diseases, laboratory analysis is required for an accurate diagnosis. If you suspect your plant has been infected by a vascular disease, submit branch tissue to the UConn Plant Diagnostic Laboratory for evaluation. Remember to collect tissue that is just beginning to appear symptomatic, as the lab is unable to diagnose plants that are already dead.

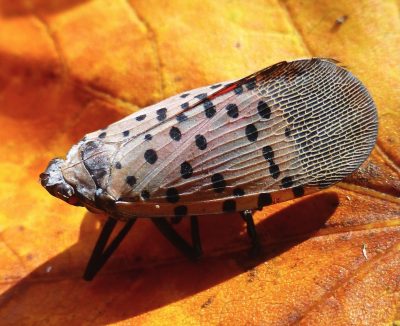
Invasive or Aggressive? Why the Difference Matters in Your Garden

American lady butterflies, Vanessa virginiensis, are among the several butterfly genera that migrate in both spring and fall, like the monarchs. As they head south in late summer, flowers like goldenrods, Tithonia spp. of Mexican sunflowers, zinnias, asters and lantana are among the plants they use as food sources on their way south.
This is a very fast flyer as it wings its way around the landscape. It is very similar to the painted lady, Vanessa carduii, but it has two large eyespots on the rear wing instead of the four smaller eyespots of the painted lady. Plus, the forewing orange cell of the American lady just below the dark area with the white markings has a white dot in the center.
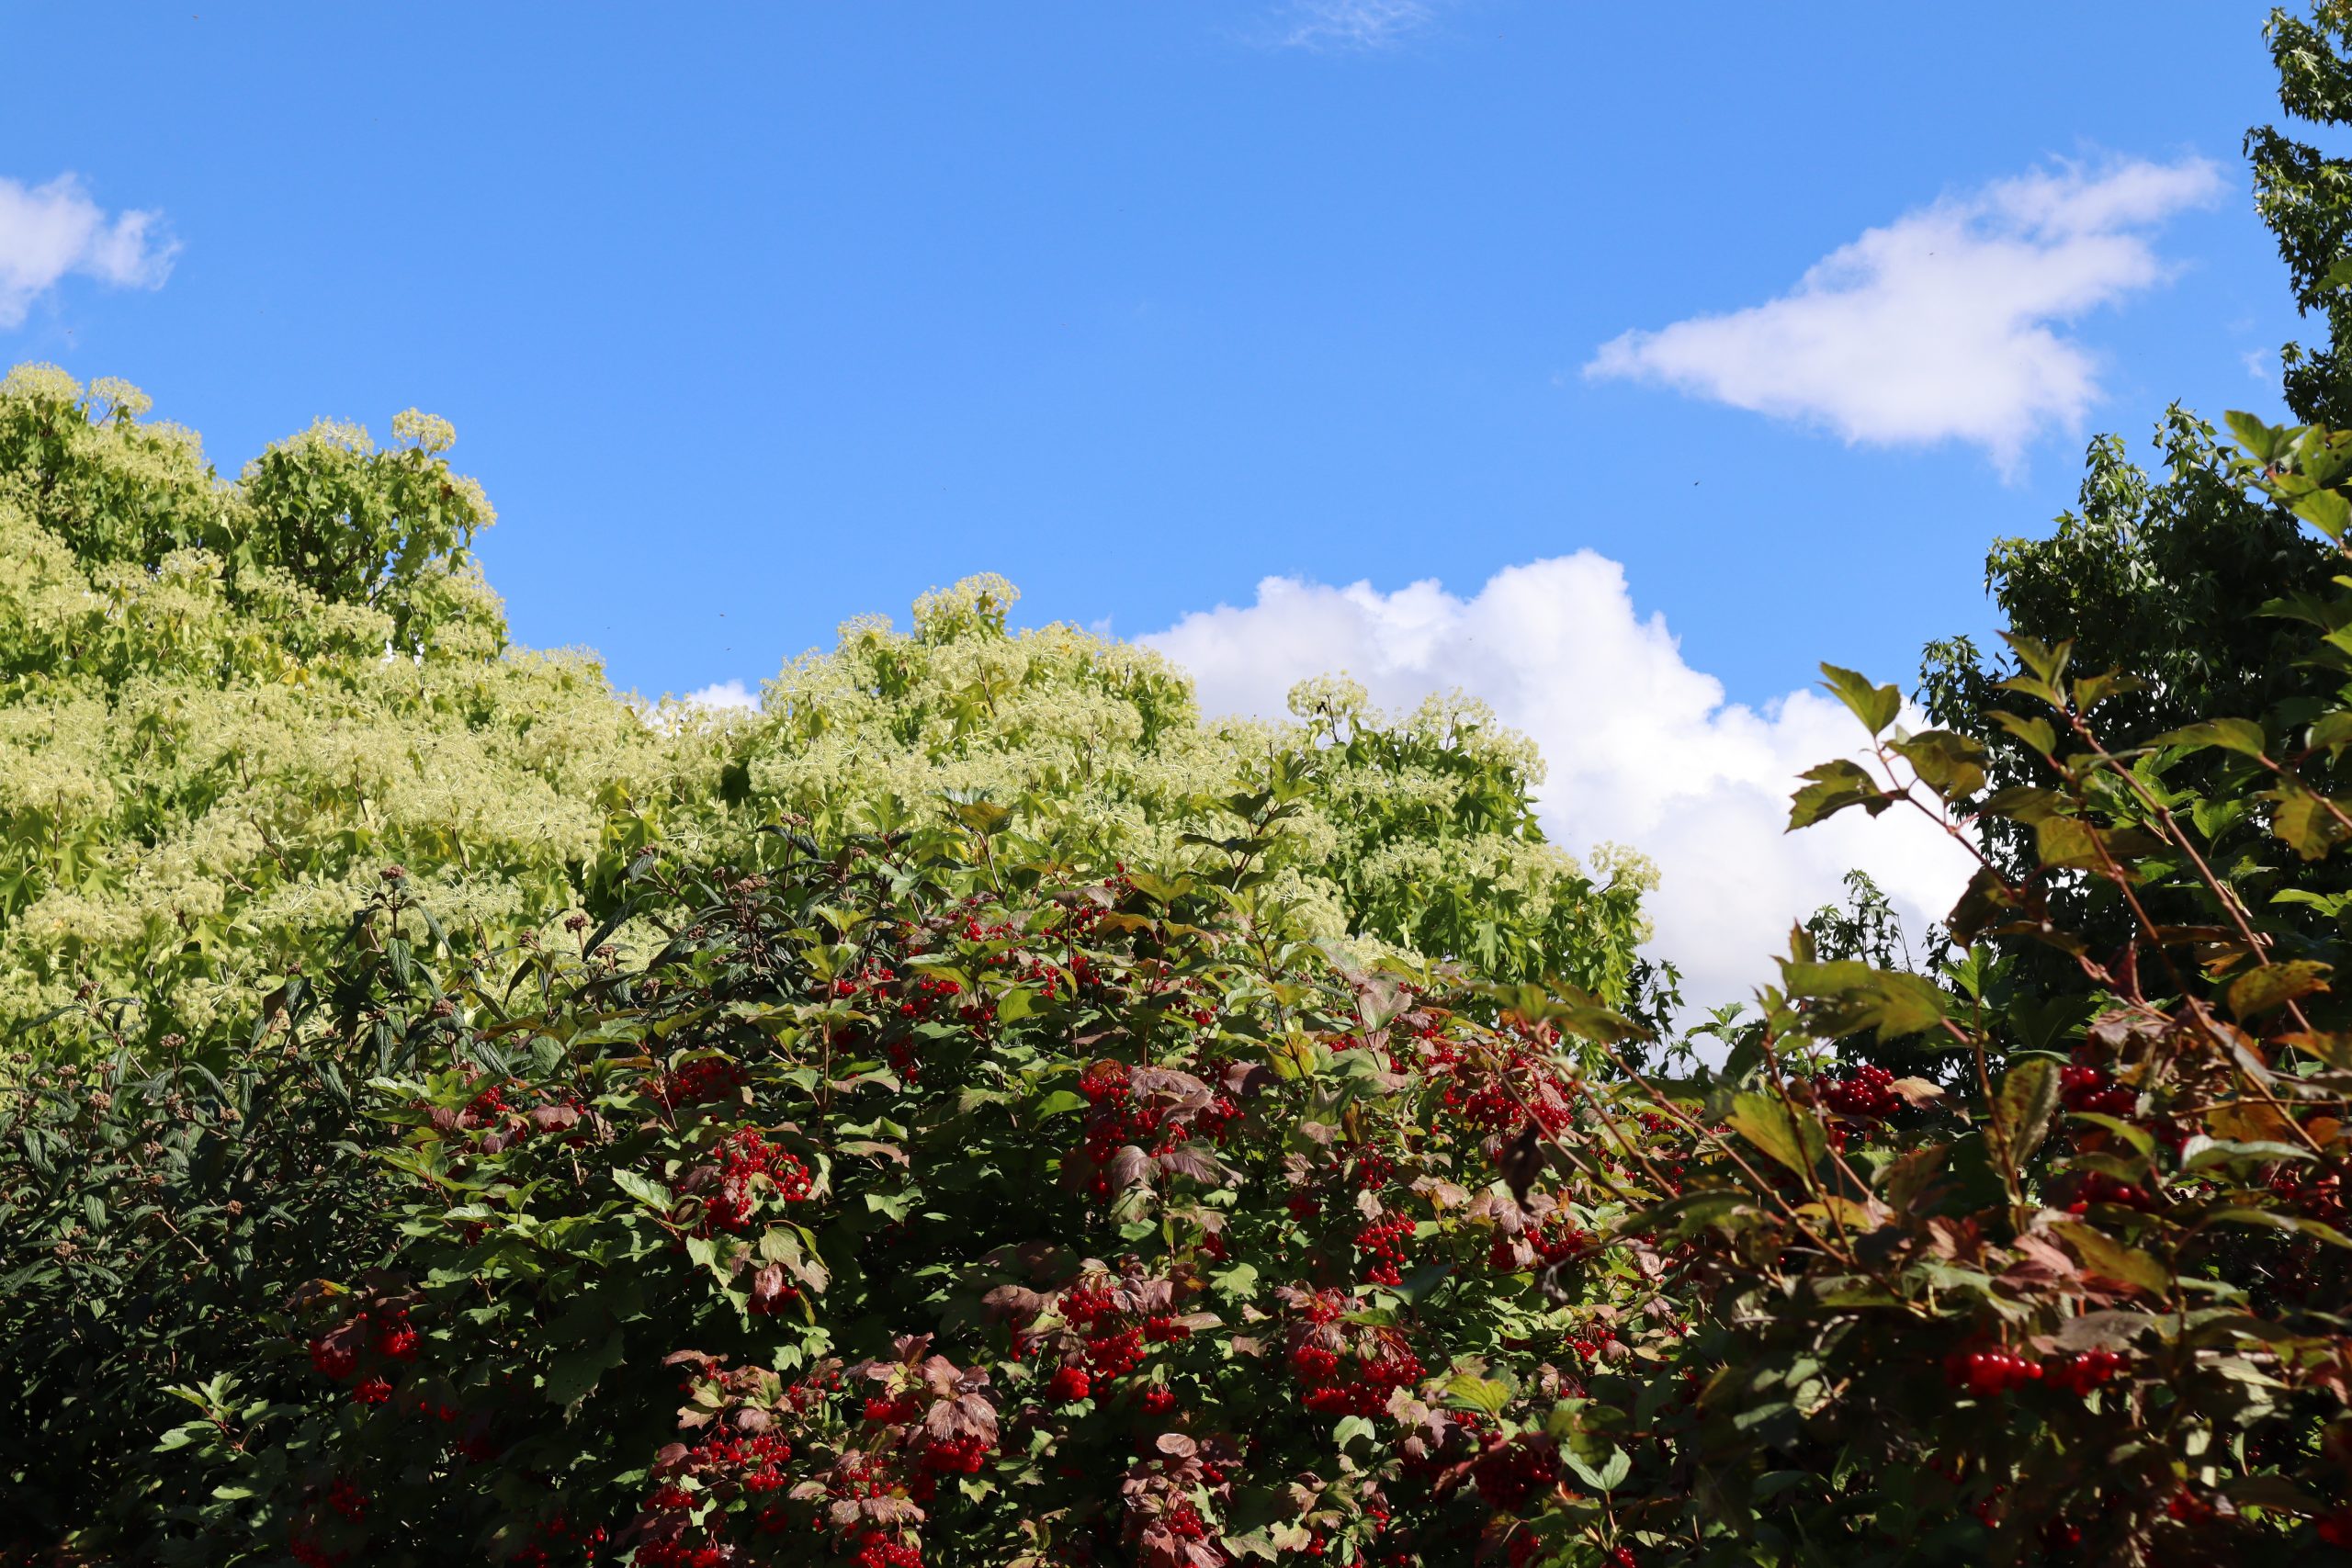
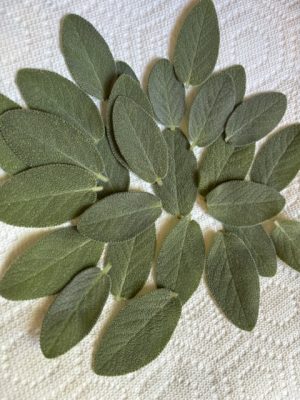
With the Dog Days of summer behind us and Labor Day on the horizon, there’s still plenty of time to both enjoy your garden’s beauty and bounty as well as finish harvesting aromatic herbs for culinary use. Even a small pot or planting of basil, thyme, rosemary and the like can supply a fair amount of flavor to your favorite dishes.
Methods of harvesting vary from fresh use to frozen to dried depending on your preferences. Regardless of how you intend to prepare them, follow these few suggestions for harvesting. Start with clean hands, clean scissors or clippers and a clean container to place your herbs in. Make sure your scissors or clippers are sharp to make clean cuts.
Most herbs can be harvested throughout the summer. Annual herbs can be picked until they start looking ragged or get hit by the frost. Typically, late August through early September is the last time to clip perennial herbs as the tender new growth that is encouraged by harvesting could be damaged by the frost if plants are harvested too late in the season.
Also, as a general rule of thumb, herbs grown for their aromatic leaves are most pungent when harvested before flowering. This may leave some pollinator friendly gardeners with a dilemma as the flowers of many herb plants, like oregano and thyme, are especially attractive to pollinating bees and others. One way to deal with this if plants are of good size is to harvest half to two-thirds of the plants earlier in the season before they flower and later, cut the spent flowering stems back. Usually that gives you a second harvest about now.
Always harvest herbs in the morning, shortly after the dew dries but before the heat of day sets in. The essential oils are highest before the heat causes them to evaporate. When harvesting herbs for their flowers, like chamomile, borage and calendula, pick the blossoms just before fully opened. Seed heads of dill, fennel or coriander can be cut right into paper bags so as not to lose any seeds. Leave a few heads if you want these plants to self-seed. I had not had to purchase dill seeds for over 20 years in my old garden as they just reseeded themselves.
How much of a herb plant’s foliage can you remove? Anywhere from 30 to 70 percent depending on the plant. Quick growing plants such as oregano, mints, parsley and basil can generally have more of their foliage removed than slower growing potted rosemary and, in my yard, tarragon. Collect handfuls of leafy stems and bring inside to inspect before processing.
Plants can be rinsed if they have dust or dirt on them but if harvested after a rain or from a mulched bed, often they are clean enough not to need washing. Pick through them for any insects, damaged leaves or debris. If plants need to be rinsed, shake them and then spread them out on cloth or paper towels to dry. Generally, herbs that are not used fresh are either frozen or more typically dried.
Freezing herbs is quite easy. Simply chop them in small enough pieces to add to your water filled ice cube tray and freeze. Once frozen, the cubes can be popped out and stored in freezer bags or containers. Use for flavoring in soups, stews and other culinary dishes.
Herbs can be dried in little bundles, on screens, in a microwave, oven or dehydrator depending on your preferences. If you have a dry, airy, dimly lit area, you might want to make small bundles of herbs to hang upside down to dry. Seed heads, such as dill, can be bundled together and placed upside down in a paper bag. Punch a few holes in the bag, gather it at the top and hang to dry. Seeds will fall into the bottom of the bag. Leafy herbs could be spread out and placed on drying screens. Air drying works best when we have periods of low humidity.
Since this is often not the case in August, many opt to dry herbs in a microwave or dehydrator. Old gas stoves with an always on pilot light in the oven make ideal drying places. Except for the dill seeds which I bag, the microwave works best for me. Not only is it a quick way to dry herbs but they keep their nice green color. The key to successful microwave drying is to just dry small batches of herbs at one time and experiment with the timing. Herbs should be placed on a plate between 2 paper towels and then start your microwave from 30 to 60 seconds and see how that works. In between bursts, the herbs can be stirred and the bottom paper towel replaced if it gets too wet. Continue in short bursts until you come up with a good routine for your microwave. I have not used a dehydrator so if using, follow the directions that come with the unit.
Dried herbs are flavorful for at least one year. After drying, crumble them slightly and store in well-sealed glass or plastic jars. I repurpose ones that originally held herbs and spices. Take some time now to preserve some of summer’s best flavors. Come cooler days, you’ll be glad you did.
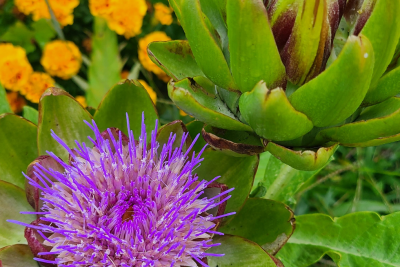
It’s been a strange year. While many gardeners typically start to feel as if their season is starting to wind down in August, some gardens this year seem to finally be hitting their stride. Regardless, with fall just ahead of us, this month provides a fantastic opportunity to reflect, and plan for your next growing season all while the weather is still on your side!
While your garden is still in flower and plants are still well established, it is a great time of year to document this growing season for yourself. Gardeners have used systems of colored golf tees, rocks, or other means to mark out where perennials are in the garden so that they do not disturb them during spring planting or cleanup. Others will sketch out their gardens on graph paper. For perennials, this is a great way to remember what species are planted, and when they flower so that you can shop for additions. This method is particularly useful for vegetable garden beds, which many try to rotate each season. By sketching out what is currently planted, you will be able to identify new locations for next season’s rotation.
It’s always easier to reflect on something while it’s in front of you. Keep a journal and note what went well this season and what didn’t while it is fresh in mind. Include pests and diseases so you are aware of what to scout for next season, before it’s an issue. Even though next year’s conditions may be different, this documentation will help you have an idea of timing, locations, or practices that can be improved on in the next growing season.
While it may not quite be time to start shopping for seeds or starts for next season, note the varieties of vegetables that did well in your garden, and ones that you might skip for next year. Taking note of diseases or pests will also help you with your winter seed shopping by helping you identify if resistant varieties are out there to help you combat those issues. Creating this list now will help you when it comes time for those January seed orders!
If you still want to play in the dirt, this is a good time of year to divide your spring and summer blooming perennials. Division not only provides an opportunity for your plants to have a little extra growing room in the garden bed, but some see it as a way of getting free plants from your garden! Enhance other garden spaces with additional plant material where it may fit. If your plants are healthy and free of pests and disease, you can even share divisions with family, friends or neighbors.
Late summer and fall blooming perennials are best divided in the spring so that they are not expending energy on both flowering and establishment at the same time. Always make sure to follow proper watering guidelines to help any transplanted divisions establish in their new spot in the garden. Even though the plants have been in your garden for a long time, once they are moved the clock resets on their “establishment period.” They’ve taken a hit to their root system and may need your support to recover. Ensure plants are receiving one inch of water per week (roughly 0.62 gallons per sq foot), to help them establish a healthy root system. Always feel the soil to determine whether supplemental water is necessary.
Spring bulbs and Peony roots will be planted in the coming months, so prepare by shopping early! Unique varieties will sell out quickly and you will want to make sure you get what you need for planting time.
We’re also approaching a fine time of year to have your soil nutrition tested so that you’re ready to go next spring! Typically, the springtime sees a rush for soil testing and there can be delays, which mean more time waiting before implementing your fertilizer programs. By testing in the fall, you have your recommendations ready to go when the soil warms up next spring!
Don’t underestimate the value of a detailed gardening journal and a few garden markers to help you remember where things are in your garden, how well they did, and what you may need to watch out for next year! Many successful gardeners have a collection of journals or notes that help them build upon what they learn from season to season. August is the perfect time of year to start documenting those observations while they’re fresh in your mind, and there’s still plenty of gardening left in the year!
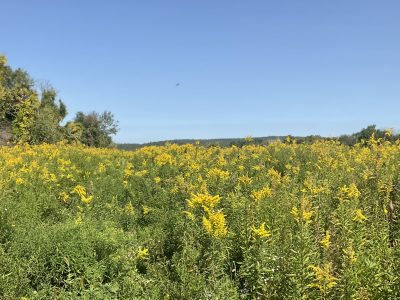
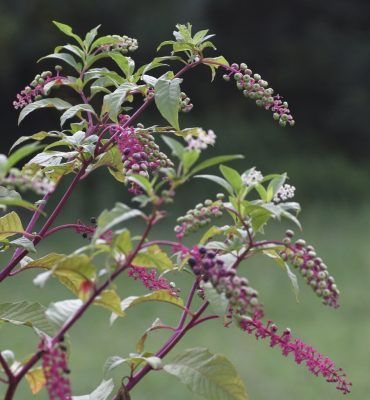
You’re in the garden, staring at that same patch of weeds spreading year after year into your flower beds. You grumble how invasive they are. Or are they aggressive? Conversationally, both invasive and aggressive paint the same picture but if you read the fine print, they mean different things.
In everyday conversation, the two words can sound interchangeable. In horticulture and ecology, however, they mean different things. That distinction can shape how we manage plants, communicate with other gardeners and landscape professionals, and understand the regulations that apply to certain species. Gardening lingo can be nuanced and details matter.
Let’s begin with the broadest term: weed. A weed is simply a plant growing where it is not wanted. A weed may be otherwise desirable when it’s growing where we want it. Ralph Waldo Emerson famously said a weed is “a plant whose virtues have not yet been discovered.” A weed is more a description of where a plant is growing; it does not give away information about the plant’s provenance or growth habit.
Aggressive describes the growth behavior of a plant. Weeds and plants we grow in our gardens can be aggressive. Native and nonnative plants can be aggressive too. Aggressive plants can outcompete other plants for resources and outgrow the space allotted to them. Not all aggressive plants are invasive, but in some cases an aggressive, non-native plant can be categorized as invasive.
Invasive plants are nonnative and have demonstrated the ability to spread aggressively, establish outside of cultivation into natural areas, and outcompete native plants. People have introduced plants beyond their native ranges for centuries both intentionally and unintentionally. Most introduced, nonnative plants do not become invasive, but those that do can cause significant, costly problems for landowners, communities, and land managers. Invasive plants often have legal or regulatory implications.
The way invasive plants are regulated varies state to state. In Connecticut, a plant is considered invasive if it meets a set of ecological criteria outlined in Connecticut General Statutes 22a-381a. Connecticut’s Invasive Plants Council uses these criteria to recommend which plants belong on the state’s invasive plant list. The list is periodically updated by the State legislature as additional plants meeting the invasive plant criteria are identified. There are more than 100 plants on Connecticut’s invasive plant list.
What does it mean for a plant to be native or nonnative? Native plants are species that have occurred in a region without the benefit of human introduction. Depending on the context, native can mean native to the United States, to New England, to Connecticut, or to a smaller locale. There are different opinions about what makes a plant native and at what geographic scale. The most important consideration is that native plants coevolved alongside other species in their native range and are part of the greater ecological community. Native plants can be considered aggressive, but they are not considered invasive.
In summary, what defines a weed is a matter of opinion. Aggressive plants have robust growth, can be native or nonnative, and are sometimes further classified as invasive. All invasive plants are nonnative and are usually aggressive.