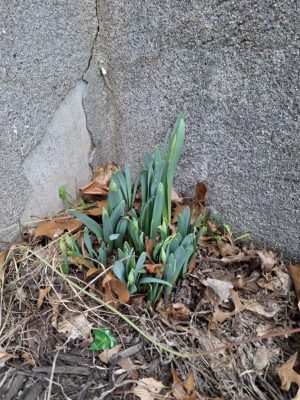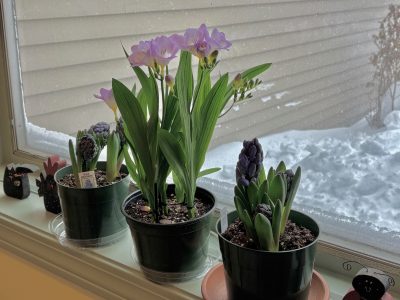
In the case of soil compaction, the early bird often does not get the worm. As temperatures rise, many Connecticut residents are eager to get back into their gardens and begin lawn care. However, after a winter marked by significant snowfall, the effects of snowmelt are still present in the form of pooling water and high soil moisture. Although the warmer weather may seem like the perfect time to begin spring yard work, it is often best to wait. Working or walking on wet soil can lead to compaction, a soil condition that can negatively impact plant health throughout the growing season. Wet soils are more easily compacted than dry soils, and once compacted, they are much harder to remediate.
Soil compaction restricts root growth, making it difficult for plants to access water, nutrients, and oxygen. As a result, plants may show reduced growth and lower yields. Compacted soils also limit water infiltration, which can lead to increased runoff during spring precipitation events. This not only reduces water availability for plants but can also contribute to soil erosion and water pollution, particularly in areas located near streams, ponds, and other water bodies.
Soil microorganisms are impacted by compaction, some of which are responsible for soil nutrient cycling. For example, compaction reduces pore space, which holds oxygen and a lack of oxygen in the soil can increase the rate in which some bacteria perform denitrification, a gaseous loss of nitrogen to the atmosphere. Other soil organisms are impacted as well. Non-burrowing animals, such as mites and springtails, have difficulty penetrating compacted soil, and there is often a decline in burrowing species like earthworms, ants, and beetles.
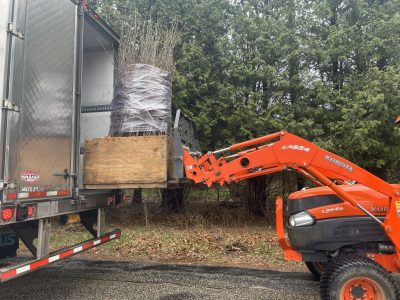
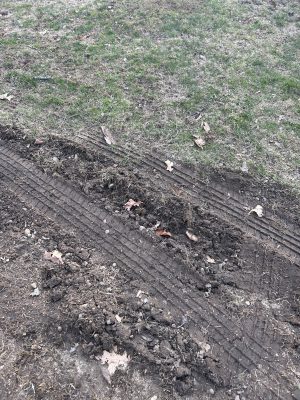
Common causes of soil compaction include heavy foot traffic and the use of equipment such as lawn mowers, spreaders, and vehicles. Following the same consistent pathway through your yard and garden, even if it seems insignificant, can lead to substantial compaction overtime, especially in high soil moisture conditions. Homeowners should also be cautious about allowing heavy vehicles, such as mulch delivery trucks or off-street parking, onto lawns when soils are wet. Additionally, tilling wet soil can do more harm than good by creating dense soil layers and deep ruts. It is important to wait until soils have dried sufficiently before working them.
To assess whether soil is compacted, start with a visual inspection. Areas with poor plant growth, shallow roots, or standing water after rainfall may indicate compaction. Simple field tests can provide further insight. One method is to dig into the soil with a shovel or spade a few days after a rainstorm. Signs of compaction include surface crusting, plate-like soil structure (resembling stacked dinner plates), or large, dense clods. Another method is to perform a soil hardness test. A few days after rain, try pushing a wire flag or similar probing object into the soil. Hold the flag at the top and press the wire into the soil without bending it. This test is most accurate when soils are moist but not saturated, and care should be taken to avoid rocks. If the probe penetrates less than 4 inches, the soil is considered compacted.
Preventing soil compaction is far easier than correcting it. Avoid walking on garden beds and refrain from working soils when they are wet. Use lighter equipment whenever possible and maintain ground cover to protect the soil surface. If necessary, aerate compacted soils and incorporate compost or organic matter to encourage biological activity from soil organisms that naturally improve soil structure. While organic residues such as compost can help cushion the effects of compaction, excessive traffic will degrade these materials over time. Soils with low organic matter are especially vulnerable to compaction, making regular amendment essential.
Patience in early spring can pay off throughout the growing season. Waiting until soils are drier before beginning yard work will help protect soil structure, promote healthy plant growth, and support long-term landscape sustainability.
The UConn Home & Garden Education Center supports UConn Extension’s mission by providing answers you can trust with research-based information and resources. For gardening questions, contact us toll-free at (877) 486-6271, visit our website at homegarden.cahnr.uconn.edu, or reach out to your local UConn Extension center at extension.uconn.edu/locations.